Firstly, you are going to need to buy your paint. You will need to know what colour paint you need, and what colour primer.
The shop should have a book with all the different combinations in it. Look up your make, model and year, and the manufacturer’s colour (which should be imprinted somewhere on your car, usually under the bonnet. In my case it wasn’t, so I had to use deduction). This will tell you what the name of the colour is (in my case, Maritime Blue) and the colour primer you need (in my case, grey).
Usually you need a white primer for light colours, a grey primer for dark colours, and a black primer for black paint. Primer is very important – it forms a good surface for the paint to key to. Without it, you can be pretty certain that within a few weeks your paint will be flaking off.
You will need equal quantities of paint and primer, and they normally cost about £5 per 300ml can. The shop assistant can help you with quantities, but as a general rule one can will cover a bonnet-sized area once. The part that I am painting is considerably smaller than a bonnet, though a more complex shape, so I can be confident of getting two coats out of a can.
Two coats is good.
Bring your paint and primer home, and set the scene. For such dramatic DIY attempts as these, it is important to wear blue jeans and a white t-shirt, as I demonstrate in figure 1.
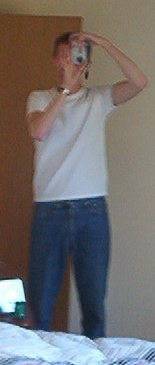
Put a bit of music on, and open the windows because it is a nice hot day (figure 2). This has the added bonus of helping air to circulate, which apparently is strictly necessary.
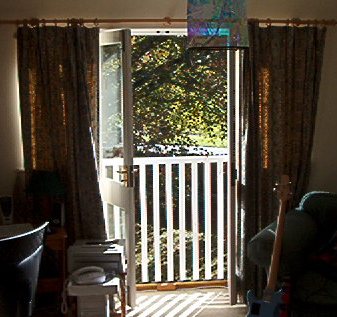
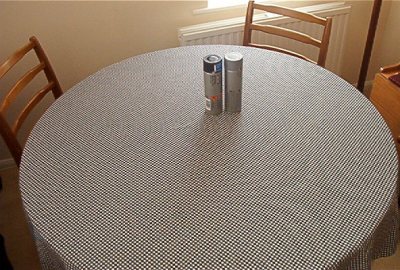
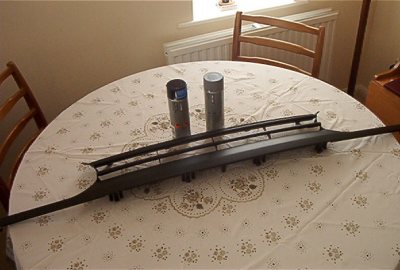
Replace your lovely tablecloth (figure 3) with a shitty tablecloth (figure 4). Put a bit of newspaper down as well, just to be on the safe side (not illustrated).
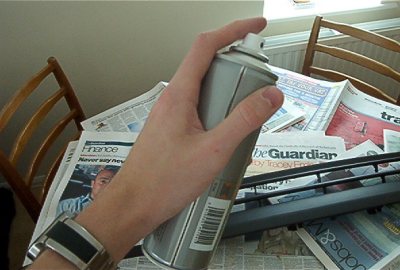
Now, let’s get to work. Shake your can of primer until it starts to rattle, and then shake it for two minutes more (figure 5).
As the salivating vicar once said, "Let us spray". From a height of about ten inches, spray your bumper or whatever evenly, just allowing the stream to swing to and fro evenly.
Get about halfway through your first coat and realise that if you continue at this rate, your entire flat is going to be covered in a fine mist of primer within ten minutes. Lose your nerve and go outside (figure 6).
This adds a few new problems into the mix.
* Unfortunately you may find that you have an elegant “stuck-insect” motif by the end of this. Do what you can.
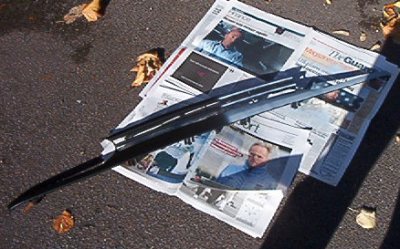
* The wind is going to try and cover your work with leaves and the newspaper which you are using to keep the tarmac in a good state. A little bit of elementary aerodynamic theory should save you here – use more newspapers, and put them around the edges of your existing newspaper so that the spine makes a kind of nosecone (figure 7).
However it does mean that the sun and breeze will speed this whole operation up a bit by assisting in the drying process. And the attractive females from next door can check out your mad skills. A provider, that’s what you are. You can provide for them. That’s why they want you. You don’t go running off to a professional every time a headlight breaks / brake pad wears down / exhaust bracket rusts away… you get the idea.
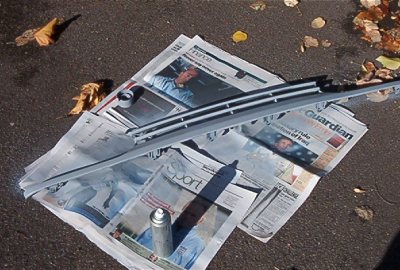
Finish off your first coat (figure 8) and sit down for fifteen minutes (figure 9) and enjoy the beautiful blue sky (figure 10). In fifteen minutes, your first coat should be dry enough to put a second coat on. To be honest, it should be dry enough after ten minutes, but lets not rush this.
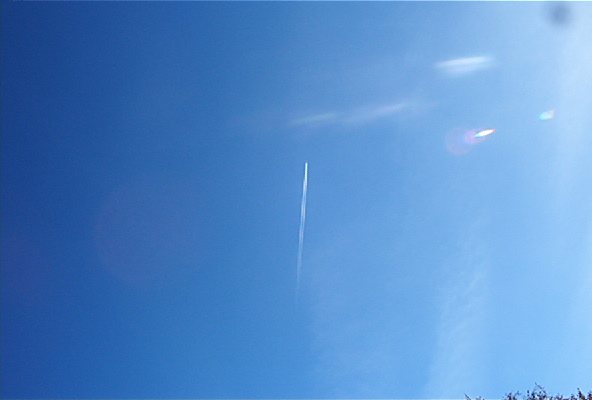
On goes the second coat. Same as the first – smooth oscillating action. There will be some awkward corners on an item such as my new radiator grille, so try not to be overly generous when you are poking the can into the corners – you don’t want rivers of primer dripping off. While you allow the second coat to dry (figure 11), it is a good opportunity to figure out how the hell you are going to get the old radiator grille off without breaking any of the fixings.
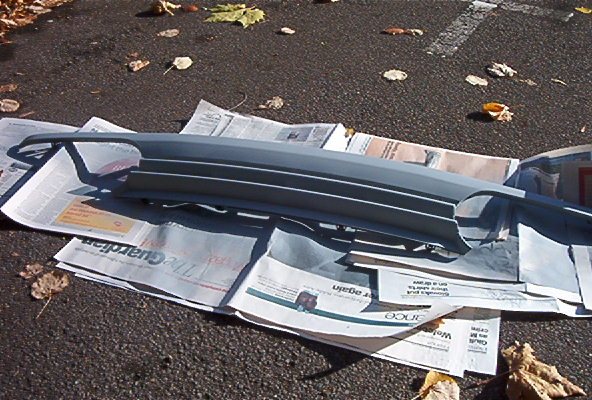
When this fails miserably, take your semi-dry item back indoors so that it is safe from harm. Make sure that all the attractive female neighbours see you carrying your beautiful handiwork. They need to know about your mad skills. Also you must be careful that you don’t leave this fine example of your craft unattended – it’s very desirable.
Try not to bump the walls on the way back in.
Once you have it back on the table, note all the bits that you haven’t covered properly. You muppet. Can’t trust you with anything.
Your baby needs about 24 hours to dry before we can start to paint, so we’ll come back to it tomorrow.
You now should wash your hands. At first this may seem like an exercise in futility, but your fingers will be pretty much clear of primer by the evening. It’s a messy process, but if you can leave it on there, then you can go to the pub later and enjoy stimulating conversation with chicks who are impressed by your abilities and mad skills.
[Continues here][]
[continues here]: http://pete.nu/blog/2002/10/how-to-paint-a-bit-of-a-car-part-2/
3 replies on “How To Paint A Bit Of A Car (Part 1)”
[…] Continues from here […]
I found this article very helpful and very funny as well, good job with your ‘mad skills’ haha
Thanks for dropping by. I’m glad that the article was useful to you. I continue to work on my skills.