1. *By the power of Grayskull!*
2. *Sorry.*
3. *You’ve caught me on a bad week, actually. It’s normally much better than this.* ((This quote stolen with absolutely no remorse from Mike‘s tagline.))
Categories
Advice, instruction, suggestion and pontification.
1. *By the power of Grayskull!*
2. *Sorry.*
3. *You’ve caught me on a bad week, actually. It’s normally much better than this.* ((This quote stolen with absolutely no remorse from Mike‘s tagline.))
 You don’t want to fight the final boss guy right at the start, for two reasons.
Firstly, you don’t stand a chance. If you go up against the final boss guy at the start, you will surely lose. You need to play through the game, to collect the big weapons. You need the right tools for the job, in order to maximise the probability of success when you finally do meet him.
Secondly, the final boss guy is exactly that – final. Once you’ve defeated him, you turn the computer off. If you get your satisfaction solely from beating the final boss guy, then that’s fine. But I want the game to be long, rewarding and constantly changing. I don’t necessarily want to discover every secret area, but at least a few of them.
This metaphor for life was brought to you by the same people that brought you Jelly Baby curry.
[Continues from here][]
[continues from here]: http://pete.nu/blog/2002/10/how-to-paint-a-bit-of-a-car-part-1/
This is gonna be such fun.
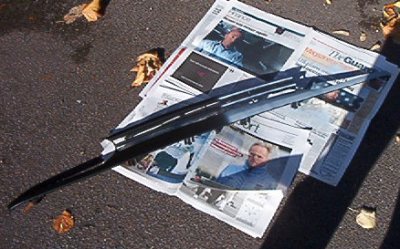
Firstly, admire your handiwork from yesterday. Marvel at the way that a day of rest has transformed it, from a painted piece of plastic into a piece of plastic which looks like it was always that colour. Set up your environment as before (figure 12). Sven Goran Erikson is optional.
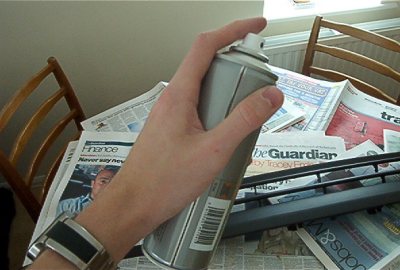
As an aside, I received an email yesterday remarking on the fact that I read the Observer. I would like to suggest that whoever sent this email should check the photos again, because I quite clearly use the Guardian as my mat.
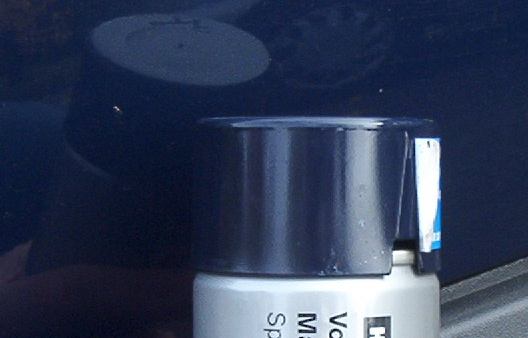
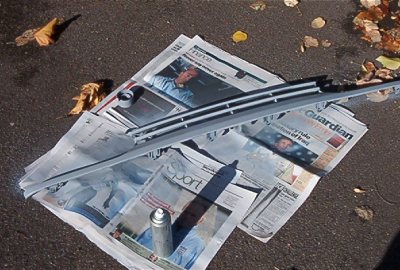
So, here we are again, and this time the watchword is restraint. Firstly, you must trust the colour on the lid of your paint can (figure 13). Once you have established your faith in the paint, we may begin.
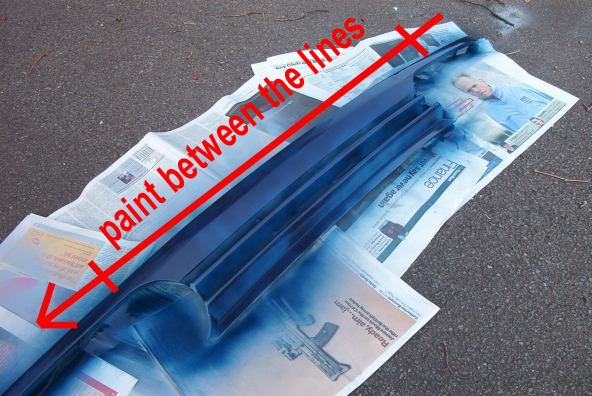
The big difference in applying the paint rather than the primer is that you currently have an image in your head of what it is going to look like when you are finished. Do not trust this image. If you try to get the grille / bumper / spoiler / whatever to the right colour with your first coat, YOU WILL REGRET IT. It’s a schoolboy error, and your end product will be covered in fat fucking splodges. Today, we must use thin coats, and plenty of them. With the primer I applied two coats with one can – today I will apply four coats of paint from one can.
The spraying action is exactly the same, but just go easy, and maintain your ten inch gap. Make your coats as thin as you desire. See figure 14? See the light bits? That was my first coat. Remember – have faith in your paint. It will come out the right colour, in time. Just make sure that you don’t allow any blobs to accumulate. To ensure this, make sure that the spray jet is not stationary at any point. Only press the button down while the can is in motion. Figure 15 may help you to envisage your strategy (sorry, it’s a really cheap effort).
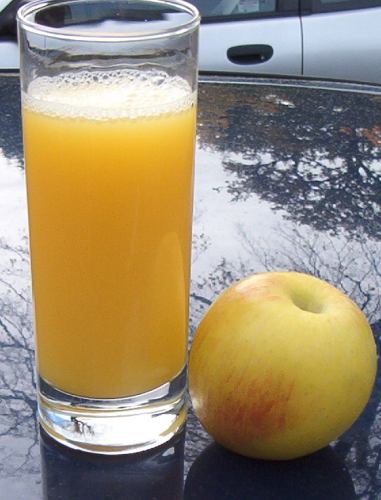
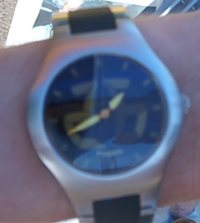
Again, your coats need 15 minutes to dry, and so you will find yourself doing quite a bit of sitting around. You can use your time to grab an orange juice and an apple (figure 16). Nothing is quite so grand as a man of the world getting his vitamin C. Especially if his hands are dirty. Ain’t that a man?
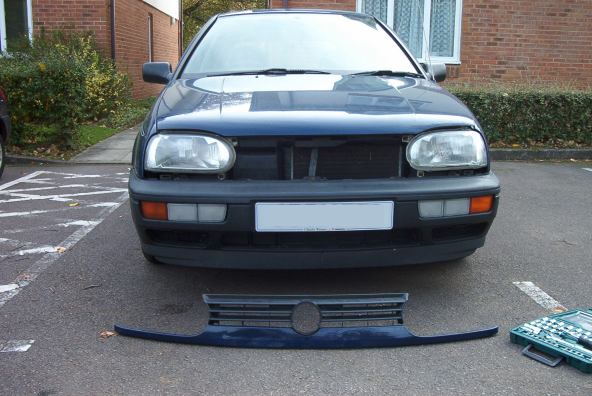
You should also figure out how to get the old grille or whatever off (figure 17). This may involve sticking your hands inside the engine compartment, around the battery and under the headlamps to get to the little catch. Be careful – there’s electricity in them thar power cells. And then put it back on again, because you still need to drive back to work in half an hour.
You will also probably spend this time running back and forth between your car and your bit of car with a tape measure, just to check that you bought the right item and it is going to fit in place. Just chill out, okay? You’re gonna be fine.
Should any of the attractive female neighbours walk past, you should get down on your hands and knees and randomly blow imaginary specks of dust off of it. Not only are you a perfectionist, but you’re also fucking brilliant at cunnilingus.
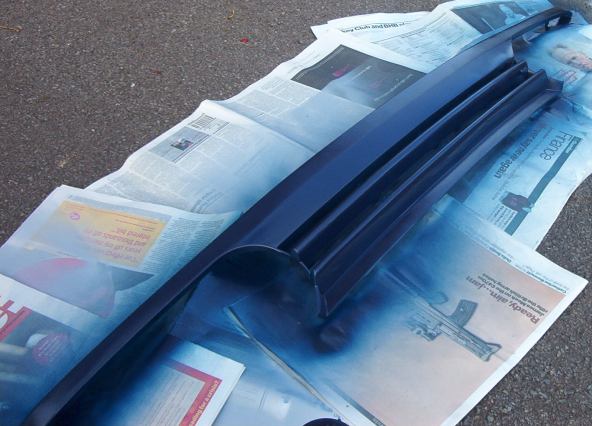
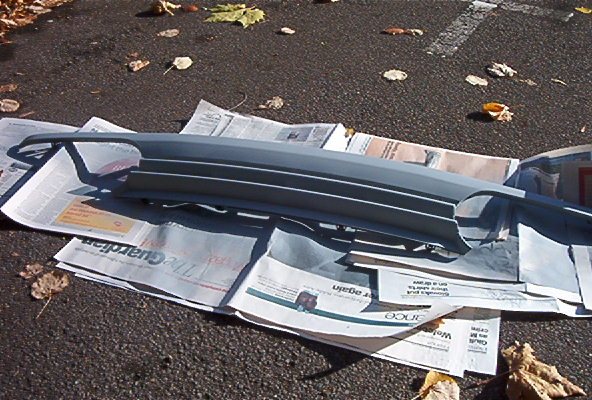
After your third coat (figure 18) you should find that the colour is pretty much matching your existing bodywork. It won’t be exactly the same, because wet paint is a different colour to dry paint, but you should be pretty much there. Remember the difference in the primer since yesterday? The same thing will happen again.
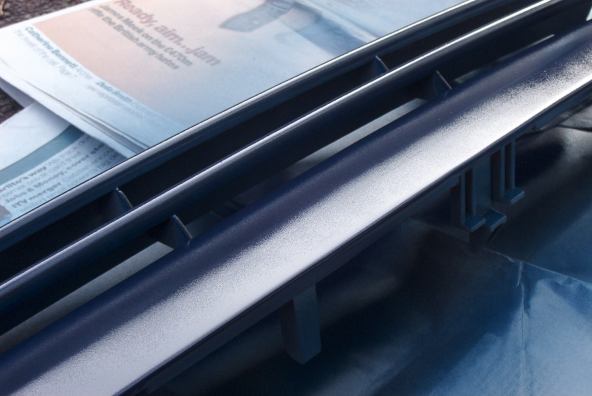
Look over your work for any areas which you haven’t quite put enough paint down on yet, so that you can lay a little (but just a tiny little, mind) emphasis on them when you put down your FINAL COAT (figure 19).
If you are lucky, you shouldn’t suffer any major insect strikes, though wasps do like the smell of paint a bit. The worst that I suffered was this little thing (figure 20), which looks like a tiny pube.
Right, let your bit of car dry for another fifteen minutes and then take it indoors. Take great care of it. Scratch it now, and you’re a fucking moron.
Go back to work.
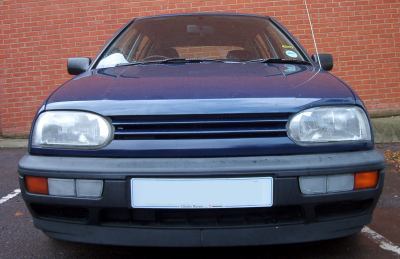
Firstly, you are going to need to buy your paint. You will need to know what colour paint you need, and what colour primer.
The shop should have a book with all the different combinations in it. Look up your make, model and year, and the manufacturer’s colour (which should be imprinted somewhere on your car, usually under the bonnet. In my case it wasn’t, so I had to use deduction). This will tell you what the name of the colour is (in my case, Maritime Blue) and the colour primer you need (in my case, grey).
Usually you need a white primer for light colours, a grey primer for dark colours, and a black primer for black paint. Primer is very important – it forms a good surface for the paint to key to. Without it, you can be pretty certain that within a few weeks your paint will be flaking off.
You will need equal quantities of paint and primer, and they normally cost about £5 per 300ml can. The shop assistant can help you with quantities, but as a general rule one can will cover a bonnet-sized area once. The part that I am painting is considerably smaller than a bonnet, though a more complex shape, so I can be confident of getting two coats out of a can.
Two coats is good.
Bring your paint and primer home, and set the scene. For such dramatic DIY attempts as these, it is important to wear blue jeans and a white t-shirt, as I demonstrate in figure 1.
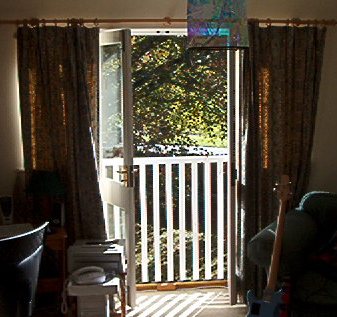
Put a bit of music on, and open the windows because it is a nice hot day (figure 2). This has the added bonus of helping air to circulate, which apparently is strictly necessary.
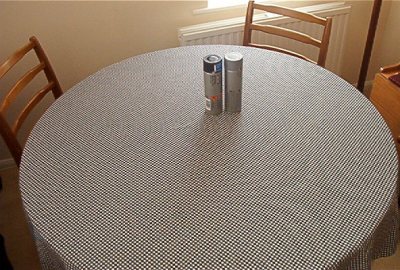
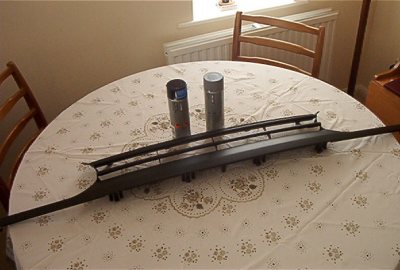
Replace your lovely tablecloth (figure 3) with a shitty tablecloth (figure 4). Put a bit of newspaper down as well, just to be on the safe side (not illustrated).
Now, let’s get to work. Shake your can of primer until it starts to rattle, and then shake it for two minutes more (figure 5).
As the salivating vicar once said, "Let us spray". From a height of about ten inches, spray your bumper or whatever evenly, just allowing the stream to swing to and fro evenly.
Get about halfway through your first coat and realise that if you continue at this rate, your entire flat is going to be covered in a fine mist of primer within ten minutes. Lose your nerve and go outside (figure 6).
This adds a few new problems into the mix.
* Unfortunately you may find that you have an elegant “stuck-insect” motif by the end of this. Do what you can.
* The wind is going to try and cover your work with leaves and the newspaper which you are using to keep the tarmac in a good state. A little bit of elementary aerodynamic theory should save you here – use more newspapers, and put them around the edges of your existing newspaper so that the spine makes a kind of nosecone (figure 7).
However it does mean that the sun and breeze will speed this whole operation up a bit by assisting in the drying process. And the attractive females from next door can check out your mad skills. A provider, that’s what you are. You can provide for them. That’s why they want you. You don’t go running off to a professional every time a headlight breaks / brake pad wears down / exhaust bracket rusts away… you get the idea.
Finish off your first coat (figure 8) and sit down for fifteen minutes (figure 9) and enjoy the beautiful blue sky (figure 10). In fifteen minutes, your first coat should be dry enough to put a second coat on. To be honest, it should be dry enough after ten minutes, but lets not rush this.
On goes the second coat. Same as the first – smooth oscillating action. There will be some awkward corners on an item such as my new radiator grille, so try not to be overly generous when you are poking the can into the corners – you don’t want rivers of primer dripping off. While you allow the second coat to dry (figure 11), it is a good opportunity to figure out how the hell you are going to get the old radiator grille off without breaking any of the fixings.
When this fails miserably, take your semi-dry item back indoors so that it is safe from harm. Make sure that all the attractive female neighbours see you carrying your beautiful handiwork. They need to know about your mad skills. Also you must be careful that you don’t leave this fine example of your craft unattended – it’s very desirable.
Try not to bump the walls on the way back in.
Once you have it back on the table, note all the bits that you haven’t covered properly. You muppet. Can’t trust you with anything.
Your baby needs about 24 hours to dry before we can start to paint, so we’ll come back to it tomorrow.
You now should wash your hands. At first this may seem like an exercise in futility, but your fingers will be pretty much clear of primer by the evening. It’s a messy process, but if you can leave it on there, then you can go to the pub later and enjoy stimulating conversation with chicks who are impressed by your abilities and mad skills.
[Continues here][]
[continues here]: http://pete.nu/blog/2002/10/how-to-paint-a-bit-of-a-car-part-2/
There are a number of steps to ensure that your pub crisp-eating experience goes as smoothly as possible.
Firstly, select a suitable pub. You need to be sat down, around a table, with about two or three other people. It must not be too crowded, and the table must be square or round, with four beermats and no spilt fluids on its surface.
Take your coat off and hang it over the back of your chair. Place mobile phones, car keys and wallets on the table. This is a safe pub, and there will always be someone sat at the table.
Persons A and B sit opposite eachother at the table whilst persons C and D go to the bar, ensuring they have taken the order first. They lean up against the bar, which may or may not have spilt fluids on its surface, until the attention of a young and vibrant/old and grotty barmaid is drawn.
Order drinks. Whilst they are poured, person C selects a flavour of crisps depending on personal preference. My personal favourite is Salt and Vinegar, but Cheese and Onion may also be appropriate, and if you feel adventurous, try Beef or Worcester Sauce flavour.
When the drinks are placed on the bar, which may or may not have spilt fluids on its surface, person C pays. Person D takes the drinks belonging to persons A and D back to the table, and places them on the appropriate beermats.
Person C picks up the bag of crisps, holding them between his (or her) teeth, takes a pint in each hand and gingerly returns to the table.
The two remaining drinks are placed on the appropriate beermats and the crisp opening ritual begins. This is a complex operation. Open the bag of crisps at the top fully, and then tear down the side seam and allow the tear to continue across the front of the bag to the opposite corner. This opens out the bag, which can then be placed on the table, for communal sampling.
When two people have finished their drinks, persons A and B go to the bar and repeat the process.
Repeat the process twice more until persons B and D have also bought “a round” each.
*Originally posted [here][]*
[here]: http://www.bbc.co.uk/dna/h2g2/A210420
One of the most useful inventions ever is the sign. One of the most useful uses of the sign is to warn people who are either unstable on their feet, or just moving around too fast for their own good, that they are entering an area where a solid tiled floor has recently been covered in water, either through accident or the cleaning process. This is so that they can take extra care not to fall over.
However, the thought occurs that it has been known for people in a crowded area to fall over the signs themselves, for they are placed strategically in the middle of the floor, and being only a foot or two in height, it is not difficult for them to be completely obscured by peoples’ legs.
One wonders why there are not signs saying “Caution. ‘Caution. Wet floor.’ sign.” Of course, by induction this would mean that you would then need a sign saying “Caution. ‘Caution. ‘Caution. Wet floor sign.’ sign.’ sign.” and so on, until the world is totally covered in signs saying “Caution. Caution. Caution…. Caution. Wet floor sign. sign. sign…. sign.”
Or the signs could just be 7 foot tall.
*Originally posted [here][]*
[here]: http://www.bbc.co.uk/dna/h2g2/A207190